Heathkit TC-1 Tube Tester Restoration Part 3
Heathkit TC-1 Tube Tester Restoration Part 3
Part 3 – Teardown
The next part of the restoration is the teardown phase. This will include corrosion removal and general dirt/flux cleanup of the unit. I started by removing the 10 lever switches. These were held in place with 3 bus wires and a few wires going off to other circuitry.
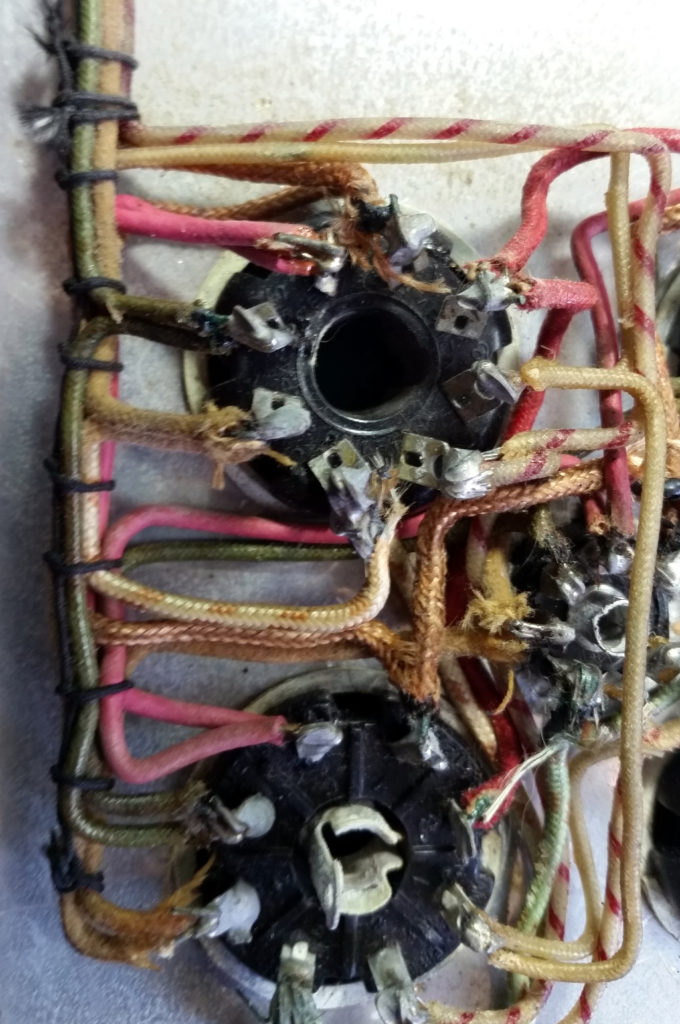
As I proceeded into the teardown,I noticed that in order to clean up the major corrosion, I would need to remove the various switches, potentiometers and tube sockets. Unfortunately, the tube sockets come out the front of the unit, so all of the wires must be unsoldered from them. This turned out to be ok though, as most of the solder joints were in poor condition anyway. I don’t know if I’ll be able to save any of the cloth covered wire looms, but I will try to keep them intact.
At this point, since I was removing all of the wiring, I took photos of each component in place, to aid in reassembly later. Then I removed all components from the aluminum panel.
Did I do that???
Stay tuned as I begin the cleanup phase in the next post…


Comments
Post a Comment