Heathkit IG-42 Signal Generator Restoration – Part 4
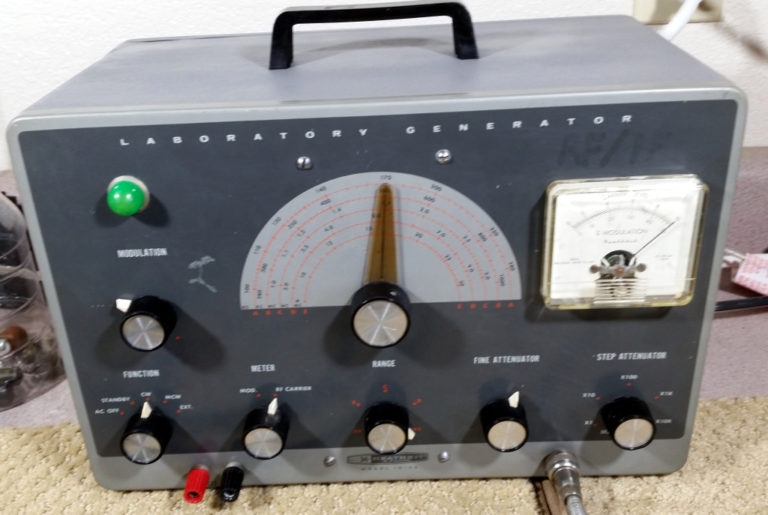
Heathkit IG-42 Signal Generator Restoration – Part 4 Filed in Heathkit IG-42 on Oct.02, 2018 Cabinet Repair Front Panel Now the the IG-42 was in good electrical order, it was time to move on to the cabinet repair. As you may recall the cabinet was in a pretty sorry state when I received it. Cabinet Top – Start Front Panel – Start I removed all hardware from the cabinet and washed it with soap and water. Then I used a small ball pean hammer to knock out the dent in the corner to some extent (I’m no body man…) This was followed by a light sanding with wet/dry sandpaper and water. I then applied a coat of primer to the cabinet and let it dry overnight. The next day, I found that the primer did not stick very well to the existing paint. I don’t know if it was the original rough finish, or some remaining grease, or just a mismatch in paint types. I sanded the area again lightly, as before and applied a second coat of primer....