Kenwood SW-2000 Wattmeter Lamp Replacement
Kenwood SW-2000 Wattmeter Lamp Replacement
I’ve been busy lately rewiring my hamshack. In the process, I have been doing some minor repairs to equipment that has deteriorated over the years.
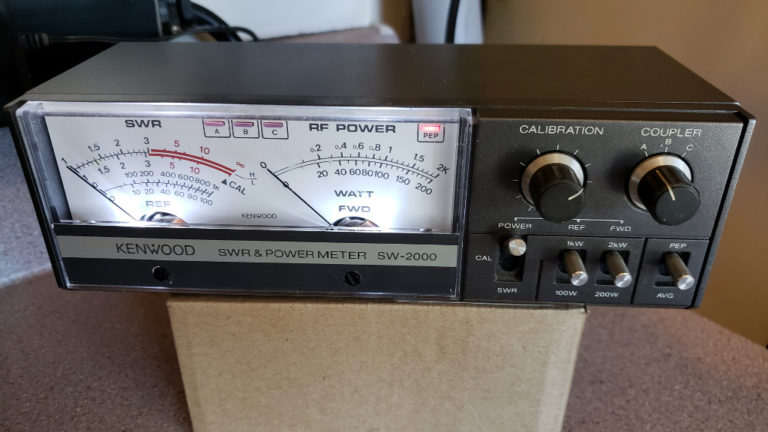
My Station Wattmeter, a Kenwood SW-2000 that I bought new in 1983, had long ago burned out its incandescent bulbs for the meters. So it is time to replace them with some new LED bulbs.
The job was not as easy as I had hoped. I removed the metal cover by removing four screws on the sides and one screw at the back top, near the center of the meter. Be careful, as the two front screws that attach the case to the meter place have captured nuts that may fall out.
To get access to the light bulbs, the front cover plate for the meters must be removed. The screws are hidden under the product label at the bottom of the cover plate. The label is glued on, so it must be carefully be peeled off of the faceplate, hopefully keeping it in good enough shape to reuse.
I used a hobby knife to start on one end, and inserted the blade between the label and the faceplate, slicing away at the glue, as if I was skinning it. Once I got about a third of the way through the length, I was able to peel off the rest of it, pulling it away at a shallow angle, so as not to crease it. You can see the faceplate screw that I have backed out, just to show where it is.
Once the label was removed, the two screws holding the faceplate on were exposed. The following picture shows one of them removed, and the other one ready for removal.
With the two screws removed, the bulbs are accessible under each meter movement.
The two old bulbs could now be unsoldered and removed. New bulbs were put into position. They had to be placed to the side of the meter movement, as they were too thick and interfered with the movement when I tried placing them in the center. I could have ordered smaller LEDS, but I had these on hand.
The cathode of each LED goes to the right side of the meter, in order to get the polarity correct. I cut the LED legs short, and soldered one leg to the mounting point, and extended the other leg by soldering a thin, flexible wire to the other mounting point. It is plenty sturdy enough.
To get the LEDs to a reasonable brightness, without the danger of burning them out, I replaced the 82 ohm resistor on the PC board with a 2.2K ohm resistor. Getting access to the bottom of the PC board was not easy, as the wires were tight, and there were other things that had to be removed to gain access.
Once that is out of the way, there is a metal bracket that holds down the main PC board. This is held in place with two screws on the back of the unit. I removed those and the bracket came off.
Finally, the main PC board is held in place with three screws and lockwashers. Removing these let me tilt the board up enough to gain access to the bottom of the board, where I could desolder the R1 82 ohm resistor and replace it with the 2.2K ohm one.
Once that was done, I reassembled in the reverse order of disassembly. The new bulbs light up nicely.
And the finished job looks pretty good. Definitely better than no lights at all.


Comments
Post a Comment