Arduino Uno and the SD Card Reader
Arduino Uno and the SD Card Reader
CardInfo Testing
My first module to play with was the SD Card Reader. Several of the students at Dine College were using these in their projects. Some were having success, while others struggled.
I picked up two different examples of SD Card Readers from Amazon. I chose one made by a leader in the Arduino community, Adafruit. It was more expensive ($9.01), but seemed to have features that would make it likely to work with many configurations.

The Adafruit module has an onboard 3.3v regulator to protect the card reader from the 5v supply pins on many Arduino boards. The core component of most card readers require a nominal 3.3 volts to safely operate. So for this board, you can apply 5 volts to the board, and the regulator drops the supply voltage to 3.3 volts. In addition, all of the interface signals (CLK, DO, DI, CS and CD) are protected by a level shifter chip, in case any of those pins have 5 volt signals on them.
For a second example, I chose one of the cheapest ones I could find on Amazon, as I thought that may be what many people would choose. It was distributed by a company named HiLetGo, and came in a package of 5 for $6.99
Surprisingly, this module also has an onboard regulator and level shift IC to protect it from 5 volts.

There were “rumors” that the SD Card Readers would only work with a 2Gb SD Card, and some were having success with that.
I could not find anything smaller than 16 Gb cards locally, and I couldn’t find anything that said that these readers would not work with cards up to 32Gb. So I got two examples from the local Walmart Store.
The first one was a PNY 16 Gb for $8.48

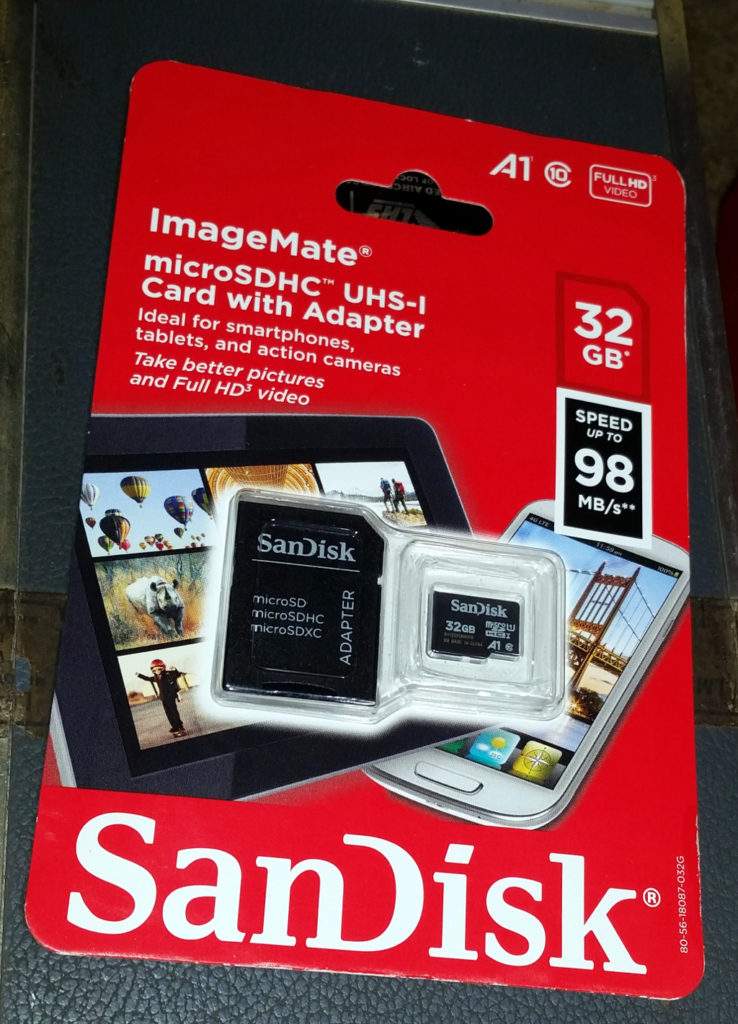
The second example was a 32Gb SD Card made by SanDisk, also sold by Walmart locally for $9.94
Test Setup #1: Arduino with Adafruit SD Card Reader
For the first test setup, I used the Arduino Uno with the Adafruit SD Card Reader.

I connected the Card Reader pins as follows:
| SD Card Pin | Arduino Card Pin | Acronym | Function |
| 5v | 5v | 5v | Power to Card Reader |
| GND | GND | Ground | Ground for Card Reader |
| CLK | 13 | Clock | Serial Clock |
| DO | 12 | MISO | Master In Slave Out Data |
| DI | 11 | MOSI | Master Out Slave In Data |
| CS | 10 | Slave Select | Chip (Slave) Select Pin |
| CD | NC | Card Detect | Not used |
The Card Reader communicates with the Arduino via the Serial Peripheral Interface (SPI) protocol. Each Arduino board type (Uno, Due, etc…) has hardware pins specified to work with the SPI protocol. So you must use the specified pins, or your device will likely fail to work. The Arduino.cc web site has a section which details how to use SPI protocol, and includes a chart of which pins to use for various types of Arduino boards.
| Arduino / Genuino Board | MOSI | MISO | SCK | SS (slave) | SS (master) | Level |
| Uno or Duemilanove | 11 or ICSP-4 | 12 or ICSP-1 | 13 or ICSP-3 | 10 | – | 5V |
| Mega1280 or Mega2560 | 51 or ICSP-4 | 50 or ICSP-1 | 52 or ICSP-3 | 53 | – | 5V |
| Leonardo | ICSP-4 | ICSP-1 | ICSP-3 | – | – | 5V |
| Due | ICSP-4 | ICSP-1 | ICSP-3 | – | 4, 10, 52 | 3,3V |
| Zero | ICSP-4 | ICSP-1 | ICSP-3 | – | – | 3,3V |
| 101 | 11 or ICSP-4 | 12 or ICSP-1 | 13 or ICSP-3 | 10 | 10 | 3,3V |
| MKR1000 | 8 | 10 | 9 | – | – | 3,3V |
The SPI document also explains that you may use a different CS/SS pin than specified in the chart, but if you do, you still must insure that the specified SS pin is set to OUTPUT. This has to do with the possibility that the hardware may put the Arduino into Slave Mode, rather than Master Mode, if the pin is not set to OUTPUT.
So, with the Arduino Uno wired to the SD Card Reader, I applied power and loaded the SD Card example program named CardInfo. This program (or Sketch, as they are called) accesses the SD Card and determines various parameters of the card, displaying them on the Serial Monitor window.
The SD Card Library defaults to using pin 4 for the CS line, to be compatible with the Arduino Ethernet Shield, a common interface board that has an SD Card Reader on board. Since I was not using that module, I changed the CS line to use pin 10 of the Arduino, to match my wiring.
After uploading the CardInfo program, I started it up with no card inserted. As expected, the program saw that there was no card…

If you see this outcome with a card inserted, you know you have a problem. Either your wiring, your card reader hardware, your Arduino hardware, or the card itself is faulty.
Next, I inserted the 16Gb card straight out of the package, without formatting it on my laptop first. It worked fine…

Note that it is a Fat32 formatted card out of the package. Although the Arduino documentation suggests to use FAT, rather than FAT32 if possible, I think this may cause some issues with cards larger than 2 Gb. Here is why…
Next, I removed the card and used my laptop with the SD Card Formatter program to format the card. The formatter program automatically used the FAT32 format, because the card was bigger than 2Gb. I added two files to the card from my laptop, purposely giving them filenames longer than the standard 8 character name, with a 3 character filetype. TestFile1.txt and TextFile2.txt
Running the program with the home-formatted card resulted in another success.

Note that the Card Reader truncates the long filenames and reads the names as all capital letters.
I removed the card again, and renamed the two files with short filenames, TestFil1.txt and TestFil2.txt
Inserting the card into the card reader and running the program again, you can see that it reads the filenames correctly, and capitalizes all characters in the filename.

Test Setup #2: Arduino with Catalex SD Card Reader
I later wired the cheap Catalex Card Reader to the Uno using the following connections:
| SD Card Pin | Arduino Card Pin | Acronym | Function |
| Vcc | 5v | 5v | Power to Card Reader |
| GND | GND | Ground | Ground for Card Reader |
| SCK | 13 | Clock | Serial Clock |
| MISO | 12 | MISO | Master In Slave Out Data |
| MOSI | 11 | MOSI | Master Out Slave In Data |
| CS | 10 | Slave Select | Chip (Slave) Select Pin |
Running the CardInfo Program yielded similar results (I had a different file created from a previous test on the Card Reader, but it showed up correctly). There were just slight differences in sizes, based on how the card reader operates.


Comments
Post a Comment