Heathkit TC-1 Tube Tester Restoration Part 5
Heathkit TC-1 Tube Tester Restoration Part 5
Part 5 – Reassembly
The TC-1 Tube Tester is now fully disassembled. Now we begin to clean up individual parts and reassemble.
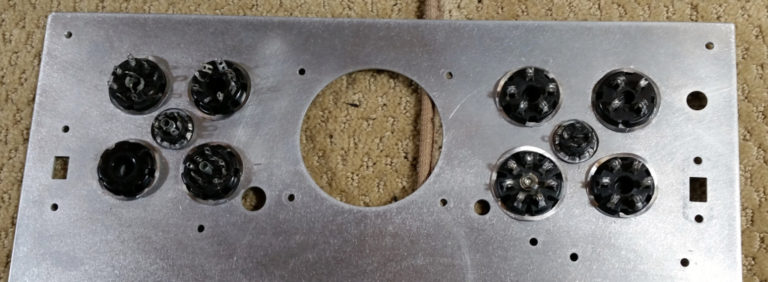
I started with cleaning up the tube sockets, by removing the old solder and boiling them for 15 minutes in a 50 -50 mixture of white vinegar and water. That removed the old solder flux that was caked on. The sockets were then reinstalled onto the panel, using the wavy rings that I had cleaned up to hold them in place. I was careful to look at pictures I had taken before disassembly, to insure I put them back in with the same orientation. The manual was not very clear on the proper orientation.
Next, I cleaned up the ON/OFF switch by using Deoxit on the contacts.
Then I used a wire brush to remove most of the rust/corrosion from the exterior.
Then I mounted it to the panel using the cleaned hardware.
After the ON/OFF switch, I continued on with the cleanup of the filament selector switch.
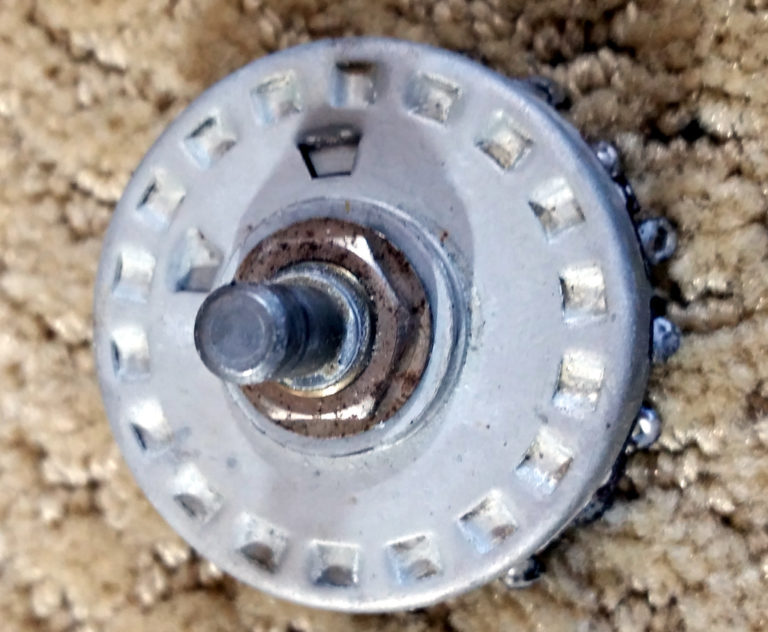
I wanted to get inside the switch to clean up the contacts, so I took it apart and cleaned the contact area with Deoxit. Then I gave it the vinegar/water boil bath treatment, and reassembled it.
After cleaning the switch up, I mounted it to the panel, and began installing the wires from the transformer. One of the contacts had been bent once too often and broke off, so I soldered that wire to what was left of the contact on the back of the switch. It feels solid, so I don’t think there will be a problem.
Next, with all of the transformer wires soldered to the switch, I checked the 75K resistor out, which was still in good shape. I removed the old spaghetti tubing from the leads and replaced it with heat shrink tubing. After soldering the resistor to the filament switch, I mounted the transformer over the switch.
Next, I cleaned and reinstalled the Line Voltage rheostat to the panel.
Next on the list was to clean up all 10 of the lever switches. I followed the same process of wire brushing and vinegar/water bath, followed by scrubbing with soapy water and rinse. Deoxit on the contacts completed the refurbishment.
After cleanup, all 10 lever switches were installed with cleaned up hardware.
To be continued…


Comments
Post a Comment