Heathkit TC-1 Tube Tester Restoration Part 4
Heathkit TC-1 Tube Tester Restoration Part 4
Part 4 – Cleanup
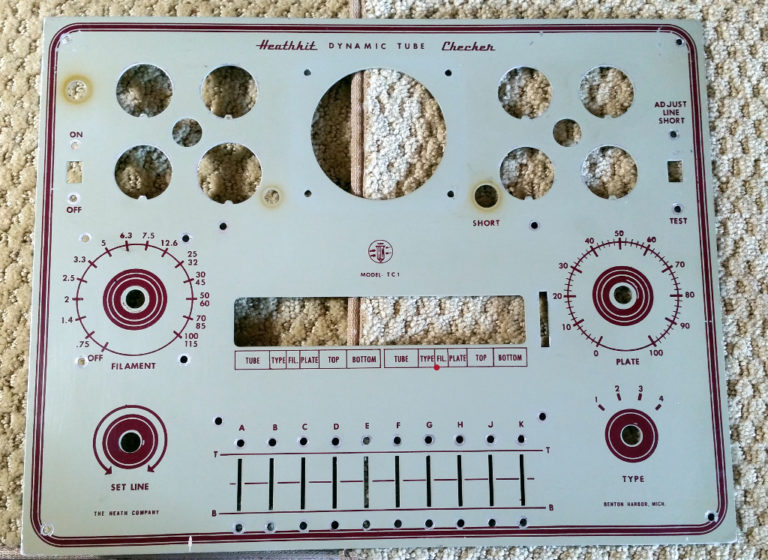
I began cleanup of the TC-1 Tube Tester with corrosion removal on the front panel. The painted side was in pretty good condition, with just a little discoloration where the rubber grommets were. I couldn’t get the discoloration out, but new grommets should cover it up pretty well.
The back of the panel had a good amount of corrosion on it, as well as some tape fragments that were stuck pretty good.
I started with a scrubbing with dish soap and water, then I sanded down the back of the panel with my orbital sander. I followed that all with a light wet sanding.
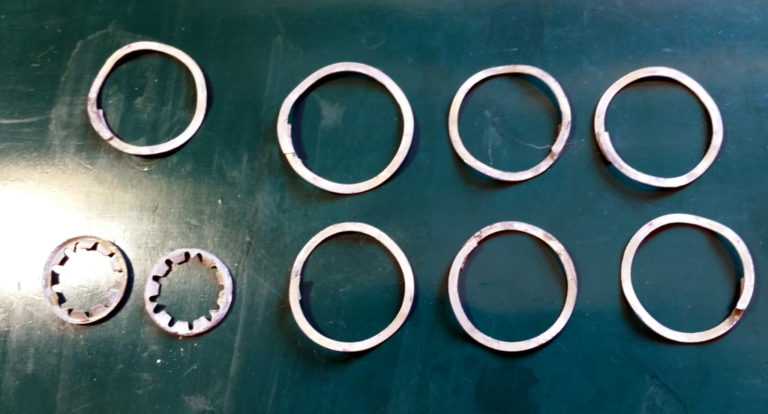
Next, I moved on to cleaning up the clamps that hold the tube sockets in place. I made a pass at these on my bench grinder with a wire wheel. They cleaned up pretty good, removing all of the corrosion.
Next, I used the wire wheel on all of the nuts, bolts and other hardware. There was some pretty heavy rust on some of these, and they cleaned up ok.
The tube sockets had quite a bit of stuck on old flux, as well as some corrosion on the metel parts. I scrubbed these with soap & water, and followed with boiling for 15 minutes in a 50 – 50 mixture of white vinegar and tap water. This cleaned them up nicely.
I see that the 5-pin tube socket has some solder on the inside of one of the pins. I will have to fix that up before reassembly.
In the next phase, I will begin reassembly, cleaning up or replacing components as needed.
Stay tuned…


Comments
Post a Comment