PCB Fabrication Experiments – First Board Finished
PCB Fabrication Experiments – First Board Finished
After confirming that the HP Laserjet 400 Black/White Laser Printer worked good for toner transfer, I wanted to try the HP Laserjet 200 Color Laser Printer to see if there was a difference. It actually worked very well, and I used that transfer to complete the process of creating my first PC Board by toner transfer.

I have been using the GCB 9″ Creative Laminator that I bought from Amazon way back in 2012.

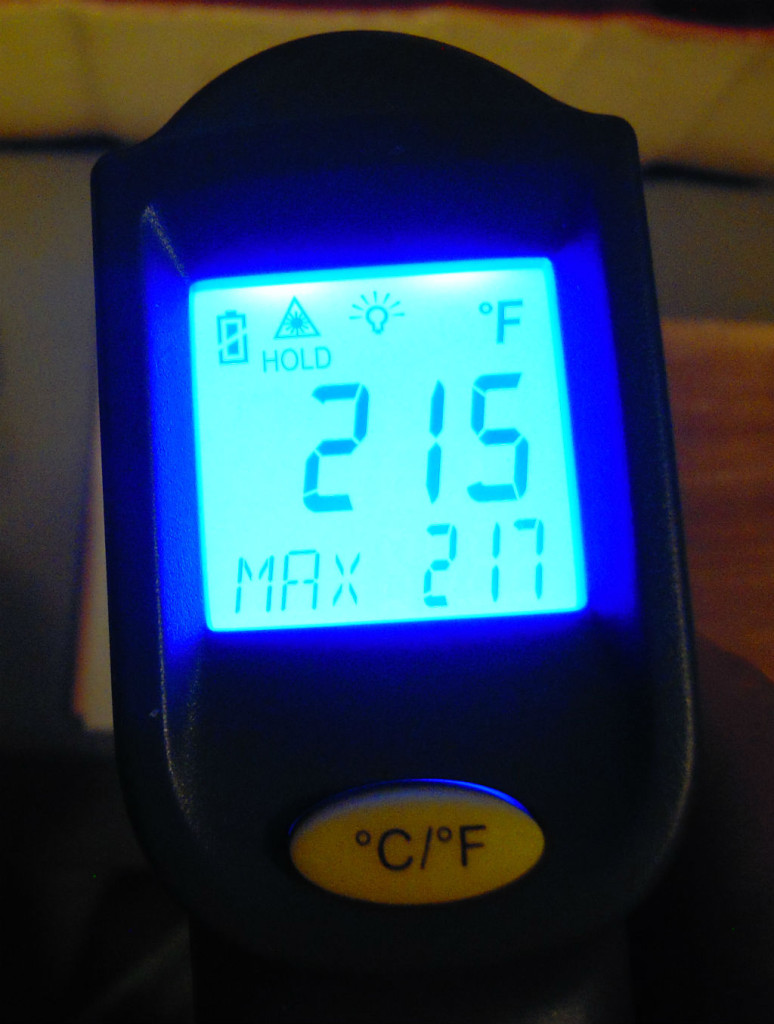
I also have a Cen-Tech Infrared Thermometer from Harbor freight that I recently bought on closeout. I ran the bare board through 3 times, until the board was too hot to hold comfortably. The thermometer does not read well off of the shiny copper surface, so I just had to guess on this.
Then I laid the paper with the toner side down onto the board and fed it through a couple more times. It fused to the copper on the first pass, and I continued until the infrared thermometer reading off the paper was above 200 degrees.
After soaking, peeling and drying as in my previous post, this resulted in a pretty good transfer.

Toner transfer to board, after initial paper peel.
I used a Sharpie to fill in a couple of spots that didn’t hold. The text even came out very readable.

Text Transfer
Next, I applied electrical tape to the back and sides to keep them from being etched, as well. This is not something I had tried before, but was curious about how well it would work.
I mixed up a mixture of 2 parts Hydrogen Peroxide with 1 part muriatic acid (14%), and placed the board in the mixture. Â K7QO is not kidding when he says to provide adequate ventilation. I had to move it outside, even though I was just inside an open doorway initially.

After about 5 minutes, with minor agitation, I could see the green circuit board showing through where the copper used to be. At that point, I removed the board and rinsed it off with the hose. Next, I neutralized the acid mixture by diluting it with more water, and adding a few tablespoons of baking soda. After the fiz gave out, I disposed of it in some rocks in our back yard. I’m pretty sure it’s not harmful, being diluted and neutralized to the extent that it was.
Next, I removed the electrical tape from the edges, refilled the container with clean water, and placed the board in the water for scrubbing the toner off with 0000 steel wool.

It took a little scrubbing, but was done within 5 minutes.
It all turned out very well, and I think I’m ready to try it on a real project.


Comments
Post a Comment