8640 Jr Cabinet
8640 Jr Cabinet
For a cabinet, I chose an old surplus case from some old HP power supply. I made a new faceplate, and found a suitable way to mount all of the separate boxes that comprise the various stages of the 8640 Jr.

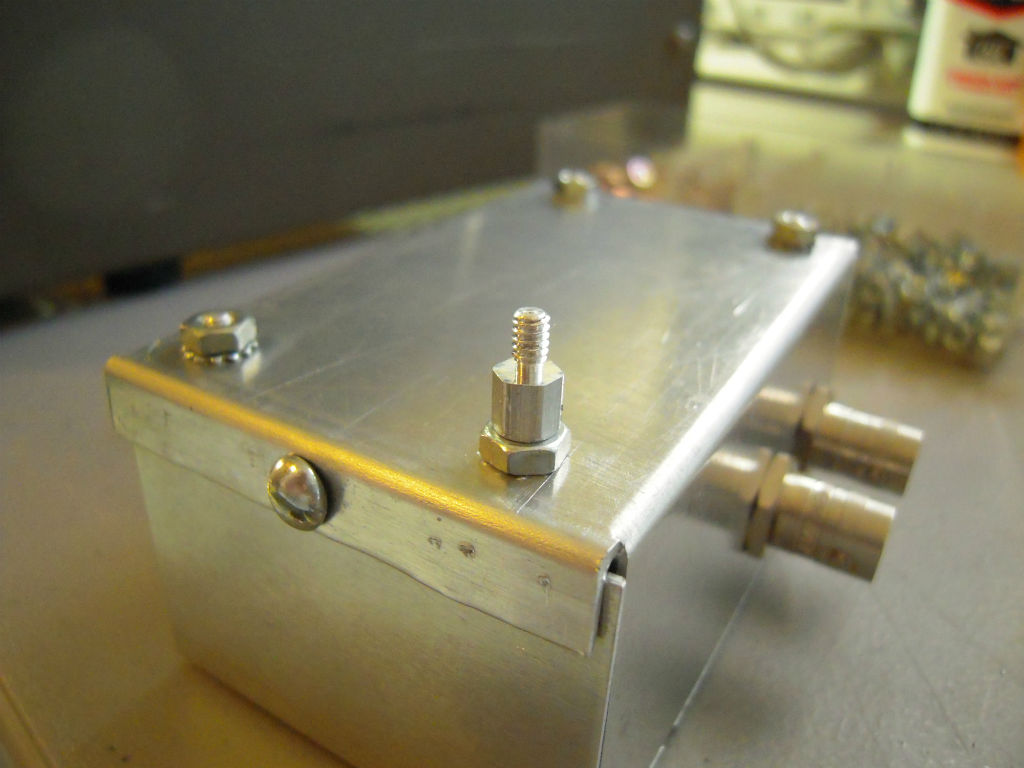
First, I replaced the nuts on the bottom of the modules with standoffs, to provide a way to secure them to a flat surface.
Next, I made a platform to mount some of the modules on, since there was not room to mount them on the same level. I used a piece of PC board for that purpose. Using some 1/2″ angle iron from the hardware store, I fastened it to the sides of the cabinet.

Once the modules were mounted, I needed a way to get the shaft of the controls outside of the faceplate. I made couplings from some hardware purchased at ACE hardware.

To the front of these couplings, I attached lengths of 1/4″ round bar stock found at ACE, as well.
These were passed through holes in the faceplate. I also put some rubber grommets in the faceplate holes to make operation a little smoother, with some friction to prevent overshoot.
I had a difficult time getting the holes in the faceplate in the exact right positions. If I were to do it over again. I would have drilled the holes in the faceplate first, then mounted the modules to fit the holes precisely.

The final difficulty I had was with my drawing program, and Walmart. To explain, if I printed directly to my printer (a black & white laser printer) from my LibreOffice Draw program, everything came out the right size. However, I wanted a color faceplate, so decided to have Walmart print me one as a picture.
So I exported the drawing as a .jpg file, and sent it off to Walmart. Well, it turns out that the .jpg file does not come out at the right size. The first try, the photo came out slightly too small (1/4″ off). So I thought it might be that I had not used up the full 8″x10″ of the photo. I put a couple of ruler lines on the drawing to take up the full length and width. My second try was foiled by Walmart giving me someone else’s photo, instead of my own. In the mean time, I experimented with printing the .jpg at home, and found the same problem. So in the end, I scaled up the drawing by about 5% and came in close enough to deter me from spending another $3.00 for a fourth try.
Another problem that cropped up with the faceplate was drilling the holes for the controls in the polycarbonate cover that I was going to use to protect the paper photograph. It tended to crack very easily (and scratch, too).
So by this time, I’m kind of willing to settle for good enough again. What can I say? This has gone on long enough.


Comments
Post a Comment