HW-16 First Power Up
HW-16 First Power Up
Ok, so I ran through the short pre-check list that Heathkit provided in their manual, just a couple of resistance checks on the high voltage supplies. No problems found there. Time to plug it in and see what she does…
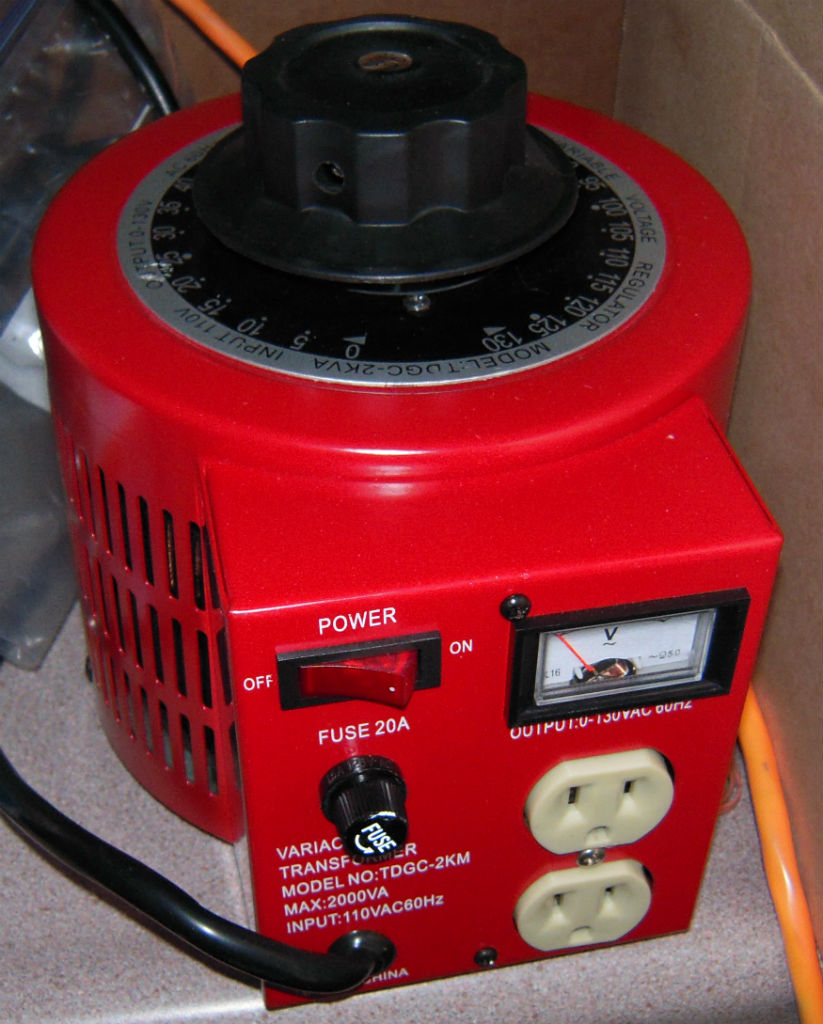
I bring up new builds and old radios on a variac. That way I can walk the line voltage up slowly, in hopes of catching any significant flaws before they become catastrophic. (As in letting the smoke out).
So I start walking the line voltage up, 25 volts… 35 volts… 50 volts… 75 volts…
Hmmm. I would be expecting to see tubes and lamps light up by now, but see nothing. I start probing around with my VOM, looking for B+ voltage. Nothing…
Then I start looking for AC voltage. Yep, got it coming in. Got it to the On/Off switch. Nothing on the other side. I suspect bad switch contacts, and decide to jumper the on/off switch as a test. As I’m attempting to place the alligator clip on the back of the power switch, I manage to touch the chassis with the other end of the lead. Oops! Big spark, then everything is dead. So I check the fuse in the variac, and that’s still OK. I notice that my bench light is off as well, so I check the breaker panel on the side of the house. All are ON! What the heck? Then I remember that my office is built into a corner of the garage, and the outlets there are on a Ground Fault Interrupter Circuit. I found the GFI outlet hidden behind some of my parts bins, and reset the the GFI.
Now that I had restored power, time to try again. This time, I was careful to unplug the HW-16 before jumpering the power switch. After doing so, I walked up the voltage again, and this time was rewarded with glowing tubes and pilot lamps. Nice!
After checking the B+ voltage as I slowly ramped up the radio, along with the bias voltage, I decided there were no major flaws to worry about. At this point, I let it sit there and cook for a half hour or so.
On returning later, I disconnected power, checked that the high voltage sections had bled down, and proceeded to remove the combination Volume/Power switch from the radio.
I suspected that a little Deoxit F5 fader cleaner/lube would help here, but had no way to access the back of the can.
The front of the switch has four tabs that fold over to hold the control together.
I used my knife to slide under the tabs, and bend them up out of the way.
Once that was done, I was able to pull the front off, keeping track of the position of the front, along with the mechanics on the inside that engage the switch on the back.
Once the switch was open, I sprayed a little Deoxit F5 into the opening on the left hand side, and placed the volume control back onto the power switch, just holding it together with my hand. Then I worked the power switch several times to scrape the contacts with the cleaner. A check with my ohmmeter said it was working again. Then, just for good measure, I also cleaned the volume control part with the same cleaner, spaying a bit into the control, then holding it together with one hand, while spinning the volume control right and left to wipe the contact area with cleaner. Again, my ohmmeter was happy.
At this point I put the control back together, pressing the four tabs down to secure the unit again. I reinstalled the control into the radio and was happy to find that I could turn the unit on and off again. But more problems awaited…


Comments
Post a Comment