HW-16 Dial Repair – Part 2
HW-16 Dial Repair – Part 2
Now that I had a decent image printed to a label, it was time to get a suitable disk to mount the label to. My first attempt looked really good, but did not allow any light to shine through from the back side, where the pilot lamp is located. So I needed a somewhat see-through disk. I used one of the clear plastic inserts that you get with the large packs of CDs that you buy for bulk media. But you only get one in each pack. It did work, but I also wanted to experiment with removing the aluminum media from the plastic disks to see how repeatable that was.

I researched for a bit about using hydrochloric acid to remove the aluminum from the polycarbonate disks. It sounded promising, but when I went to look for the bottle of muriatic acid that I thought I had in the garage, it turns out that I had disposed of it sometime in the past. So, being too lazy to go to the Home Store to get more, I took on a different route. I used sandpaper.
I started with 220 grit dry sandpaper, working on first the back, then the front. It appears that for the sample of disks that I have, there is really nothing to sand off of the back, as the actual aluminum media is applied to the front, with the back of the “paint” on the front actually being the media that gets written to through the transparent disk’s underside.

Once the bulk of the paint and media was removed (just a minute or two of sanding), I moved on to 1000 grit wet-and-dry sandpaper, with a soapy water bath to work in.
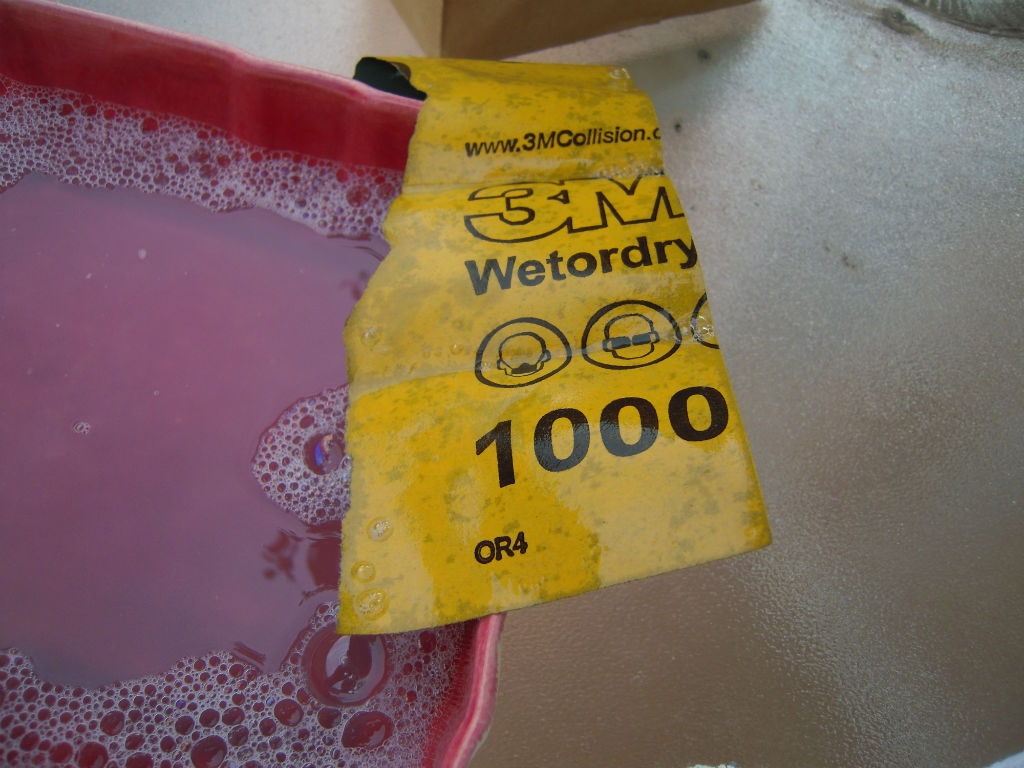
This made the scratch lines much smoother, but still left a translucent disk.

So, in the end, it turns out that I only needed to sand the top, printed side of the disk, and 220 grit followed by 1000 grit worked just fine. It took less than 5 minutes per disk to do this work.
Now, I just used the Memorex labeler to apply the printed label to the clear disk.

Continued Part 3…


Comments
Post a Comment