43′ Vertical Antenna Construction – Pt 2
43′ Vertical Antenna Construction – Pt 2
I was hoping that the aluminum tubing could be clamped together at the joints without any modification. As it turns out, the tubing is too strong to clamp without cutting a relief slot in the outer tubing. So first, I needed to find two points around the circumference of each tube, to get the slots reasonably lined up across from each other.
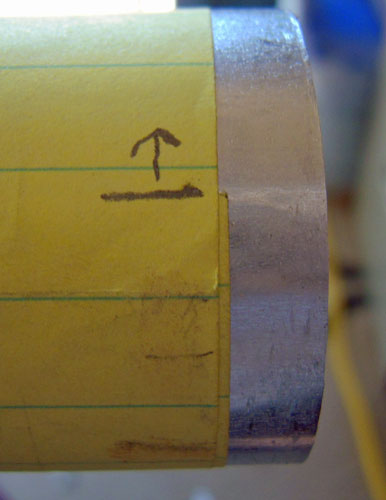
To do this, I wrapped a piece of paper around each tube, and marked the beginning and end of the wrap around the tube.
Then I took off the paper, and measured between the two marks. Half the distance was marked off as the location of the second slot. The paper was then wound back on the tube, and the new marks transferred to the tubing.
Then the tubing was slotted with my favorite coping saw.
After deburring, the next tube was trial fitted into the first, and a stainless steel hose clamp was attached. This time it held very well.
The next step was to determine how far to overlap each section of tubing. I searched the internet for hours, but couldn’t find a definitive guide that said “This is the stongest…”. So my thinking is that it is better to overlap the lower pieces (closest to the fulcrum point” the most, and allow the skinnier top pieces to flex a little more in the wind.
In the end, I decided on the following figures:
- 1 41-3/8″
- 2 38-5/8″
- 3 35-7/8″
- 4 33″
- 5 30-1/4″
- 6 24-3/4″
- 7 22″
- 8 19-1/4″
- 9 16-1/2″
- 10 14-3/4″
Each piece of tubing was marked with a line showing how far to insert it into the piece below.
Next, I will come up with a method to attach the vertical at the top of the mounting pole, and a method of attaching ground wires.


Comments
Post a Comment